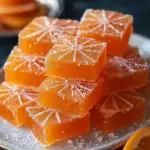
Introduction to Classic Homemade Orange Candy
If you’ve ever indulged in the vibrant, zesty flavor of orange candy, you know it can transport you to sunny days and leisurely moments. Now, imagine being able to recreate that joy right in your own kitchen! Making your own treats not only allows for customization but also brings forth a sense of accomplishment that store-bought sweets simply can’t match. So, why dive into this delightful project with our classic homemade orange candy recipe?
Why Make Your Own Orange Candy?
One of the main reasons to whip up your own orange candy is the sheer joy of experimentation. Have you ever thought about adjusting the sweetness or perhaps adding a hint of spice? With homemade orange candy, you have complete control over the flavors and textures. You can use fresh ingredients, which often results in a superior flavor profile compared to the artificial taste of many commercial candies.
Plus, let’s talk about health. Many store-bought candies are loaded with preservatives and artificial colors, while your homemade version can rely on natural ingredients. Check out this guide on the health benefits of citrus fruits from the USDA for more information on why oranges are a superfood.
Homemade orange candy is a fantastic way to impress friends and family. Picture this: you’ve crafted a batch of beautifully colored, glossy candy, and you’re serving it at a gathering. Guests will be wowed by your culinary skills! According to a survey by the National Confectioners Association, over 50% of consumers prefer homemade treats compared to store-bought options, solidifying your choice in making something special.
In addition, making candy can be a wonderful bonding experience. Whether you’re working with a partner, a group of friends, or even teaching your kids the art of candy-making, it creates lasting memories. Don’t forget to share your experiments on social media; it could inspire others to try out their own recipes!
So grab those oranges and get ready for a fun-filled, flavorful adventure. With our step-by-step classic homemade orange candy recipe, you’ll find the process straightforward and rewarding. Let’s embrace the zesty side of life together, one candy piece at a time!
Ingredients for Classic Homemade Orange Candy
Creating the perfect classic homemade orange candy is easier than you might think! Here’s a rundown of what you’ll need to bring that delightful citrus sweetness into your kitchen.
Essential ingredients for the perfect candy
To make your candy chewy and bursting with flavor, gather these necessary items:
- Fresh oranges: Choose ripe, juicy oranges for the best taste.
- Granulated sugar: A must for sweetness; it helps achieve that perfect candy texture.
- Corn syrup: This thick syrup prevents crystallization and gives your candy a smooth finish.
- Water: A simple, yet vital ingredient to dissolve the sugar.
- Gelatin: For that chewy texture we all love!
These ingredients combine to create a mouthwatering treat that’s not only fun to make but also makes your kitchen smell incredible.
Optional ingredients for extra flair
Want to take your classic homemade orange candy recipe to the next level? Consider adding:
- Zest of additional citrus fruits: Lemon or grapefruit zest can enhance the flavor profile.
- Dark chocolate: A drizzle on top adds a rich contrast to the sweetness.
- Sea salt: A sprinkle can elevate the overall flavor, making each bite unforgettable.
Feeling adventurous? Experimenting with these optional ingredients can lead to a unique twist that’s just as delightful. For more tips on homemade candies, check out resources from The Spruce Eats and Serious Eats for even more sweet inspiration!
Step-by-step preparation of Classic Homemade Orange Candy
Making classic homemade orange candy is a delightful and satisfying culinary adventure that transforms fresh oranges into a sweet and tangy treat. Whether you’re making these candies for yourself or as a handmade gift, following these steps will help you achieve a glorious batch that tantalizes the taste buds.
Slice the oranges
To start your classic homemade orange candy recipe, pick the freshest oranges you can find. Valencias or Navel oranges work beautifully for this candy. Here’s how to prepare them:
- Begin by washing your oranges thoroughly to remove any wax or pesticides.
- Use a sharp knife to slice off both ends of each orange, creating a flat surface.
- Cut the oranges into thin, uniform slices—about 1/4 inch thick. Ensure that they are even so that they cook uniformly. This makes for better texture in your final candy.
Tip: If you prefer a more vibrant flavor, you can also zest the oranges before slicing to incorporate the zest into your syrup later.
Prepare the sugar syrup
Now that your oranges are sliced, it’s time to make the syrup. This step is crucial as it infuses the oranges with sweetness and helps in the candy-making process.
- In a saucepan, combine equal parts sugar and water. For about 2 cups of orange slices, a mixture of 2 cups sugar and 2 cups water should be sufficient.
- Heat over medium heat while stirring until the sugar has fully dissolved.
- Once dissolved, bring the mixture to a gentle boil. You might notice that the syrup will thicken as it cooks; this is exactly what you want.
For more insight into the sugar syrup process, you can refer to sugar science resources at Sugar Science.
Simmer the orange slices
With your syrup ready, it’s time to infuse those lovely orange slices with flavor.
- Carefully add your orange slices to the simmering syrup. Make sure they are fully submerged; you might need to work in batches depending on the size of your saucepan.
- Reduce the heat and let the slices simmer for about 1-1.5 hours. You’re looking for them to become translucent and soft but not mushy.
Keep an eye on the candy in progress—don’t be afraid to gently stir the slices occasionally, ensuring they do not stick and that they absorb the syrup evenly.
Dry the slices
Once your orange slices are perfectly cooked, it’s time to transform them into candy by drying them out.
- Using a slotted spoon, carefully remove the orange slices from the syrup, letting excess syrup drip off.
- Arrange them in a single layer on a baking sheet lined with parchment paper.
- Allow the slices to dry at room temperature for 24-48 hours, or you can speed up the process by placing them in a dehydrator or a low oven (around 150°F/65°C) until they feel dry to the touch.
This drying time is essential; it helps create that lovely chewy texture we all adore in candy.
Optional finishing touches
To elevate your classic homemade orange candy recipe to the next level, consider these finishing touches:
- After the slices are dry, you can roll them in sugar for an extra sweetness boost.
- For a delightful twist, dip half of each slice in melted dark or white chocolate and let them set. This adds a luxurious dimension to your candy.
- For an aromatic finish, sprinkle some sea salt or a dash of cinnamon over the sugar-coated candies.
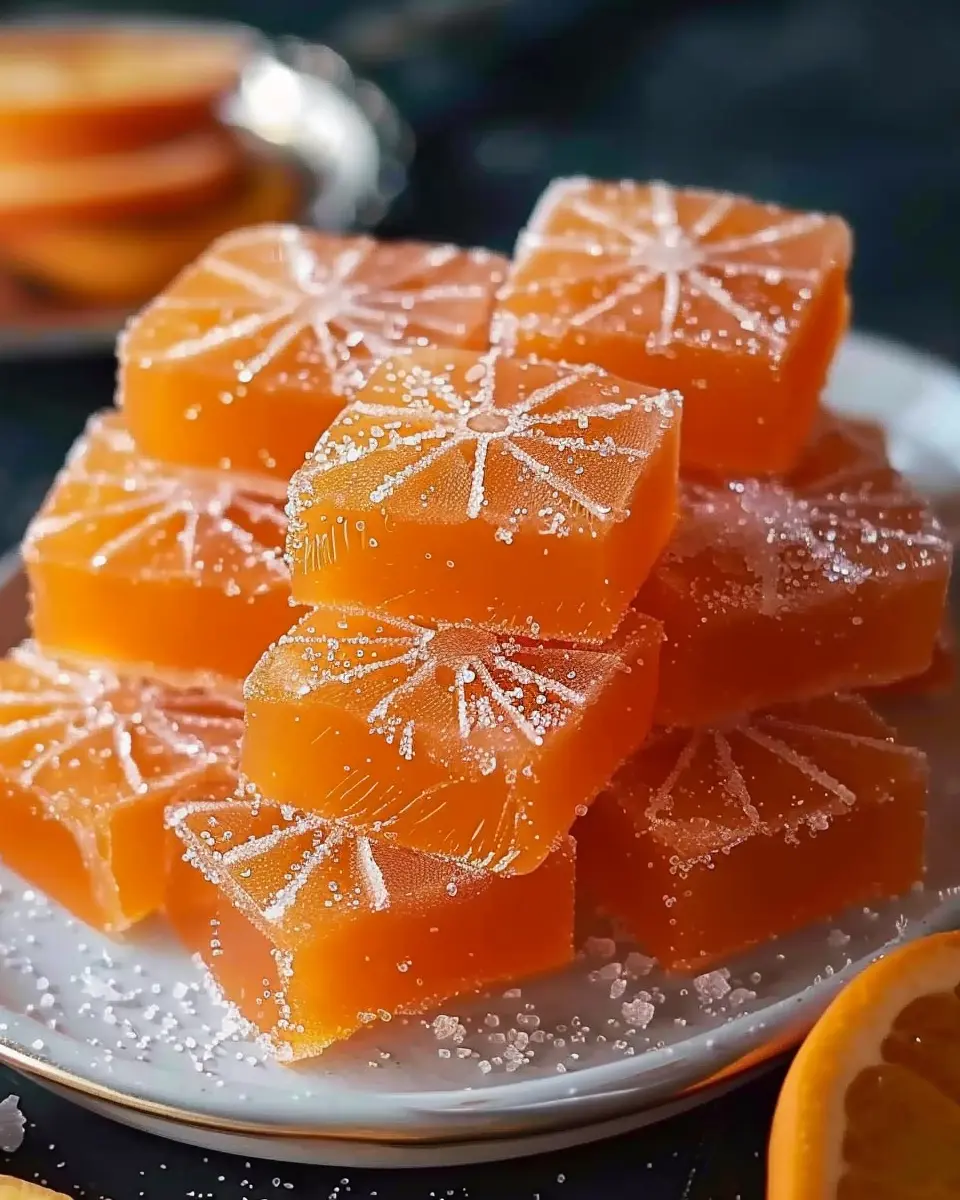
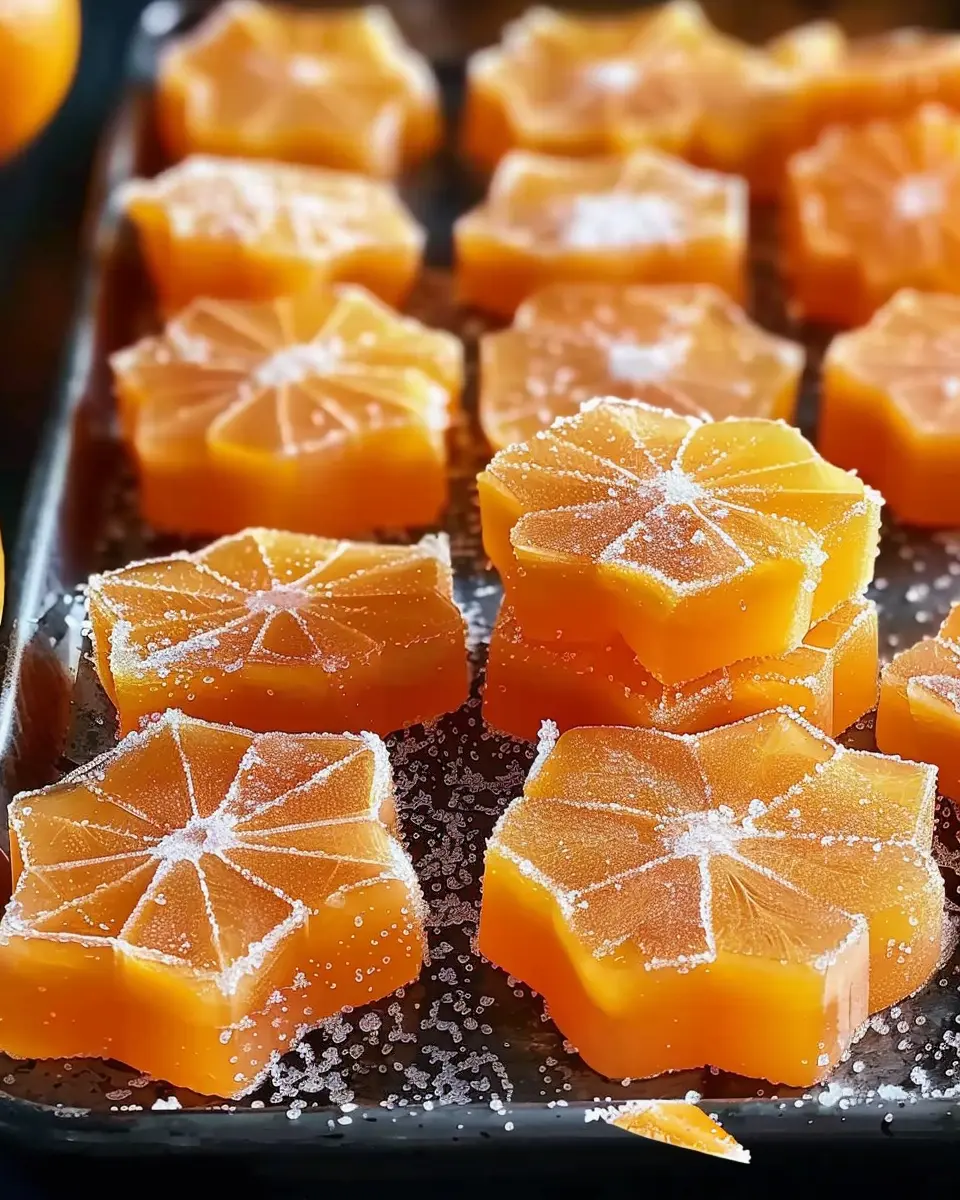
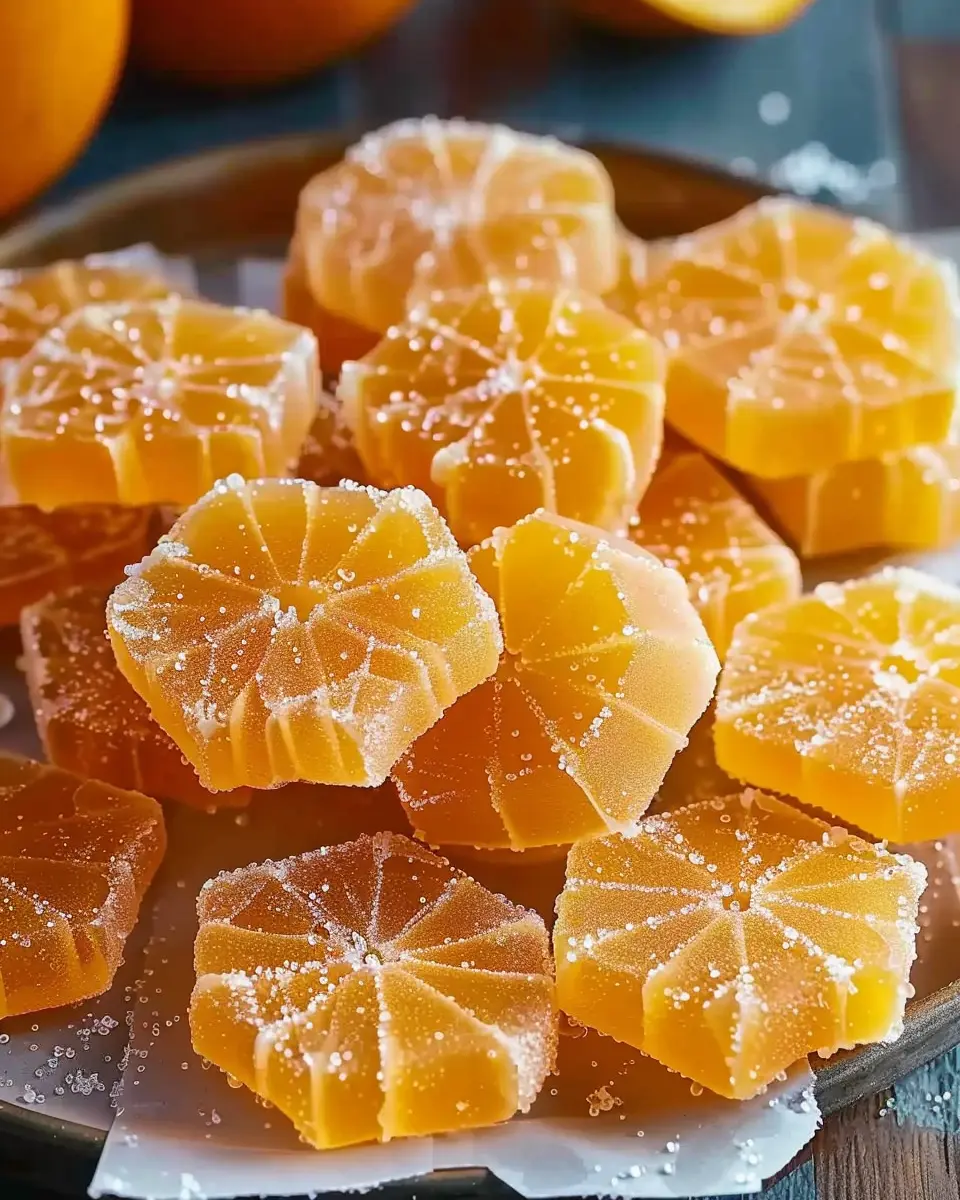
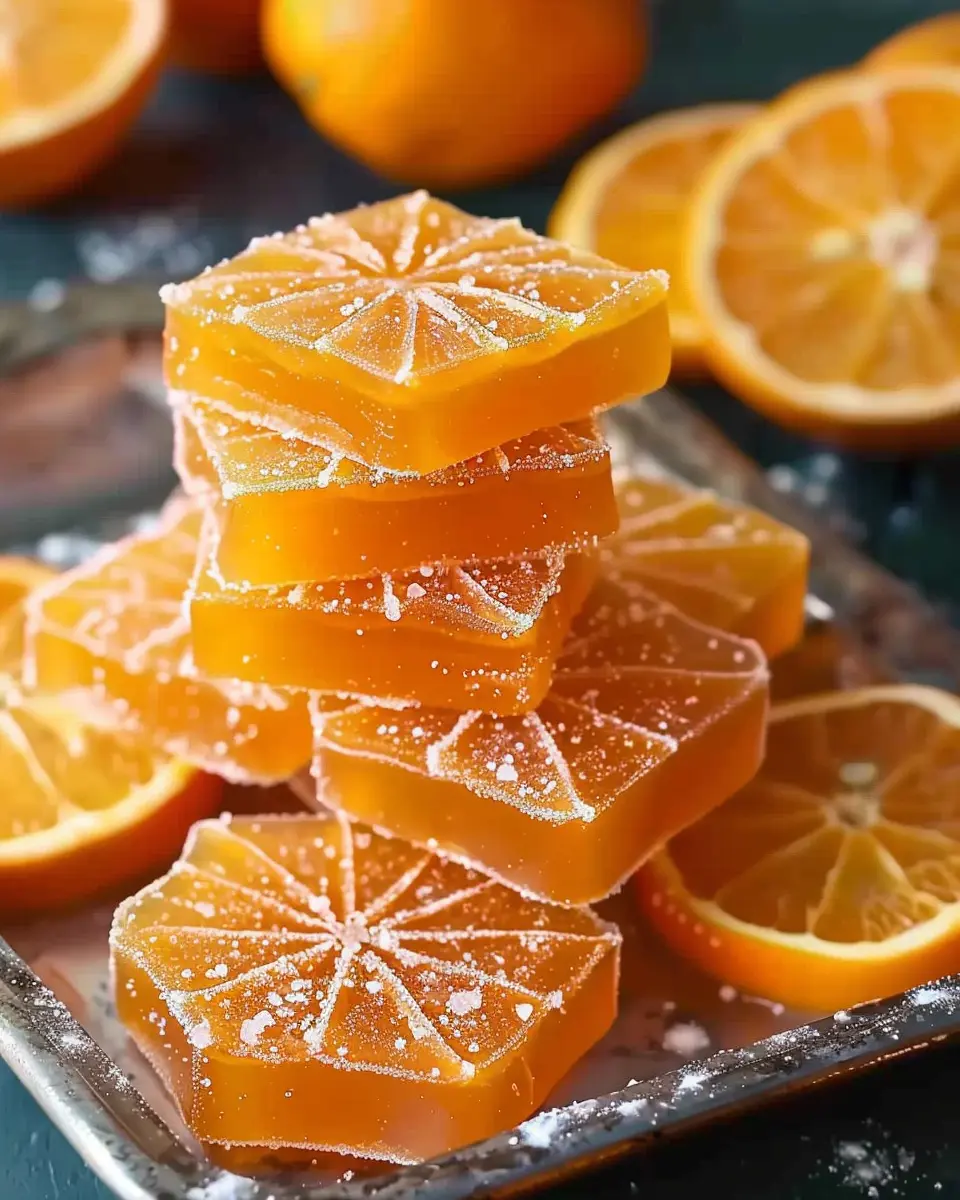
Once complete, store your orange candies in an airtight container. They’ll keep for weeks—but we have a feeling they’ll disappear much sooner!
Making your own orange candy is not only a rewarding experience but also a creative way to enjoy a bit of nostalgia. Plus, homemade candies are far more fulfilling than store-bought options. Happy candymaking!
Variations on Classic Homemade Orange Candy
Homemade orange candy is a delightful treat that can be easily customized to suit your taste. Whether you crave a touch of indulgence or a hint of spice, there are so many ways to elevate this classic recipe. Here are two exciting variations to try!
Chocolate-dipped Orange Slices
If you’re a chocolate lover, this variation will take your classic homemade orange candy recipe to a whole new level. Simply dip your candied orange slices in melted dark or milk chocolate. Here’s how to do it:
- Prepare the oranges: Once your orange slices are candied, allow them to dry completely on a wire rack.
- Melt the chocolate: Use a double boiler or microwave to melt your favorite chocolate until smooth.
- Dip and cool: Dip each slice halfway into the melted chocolate, allowing any excess to drip off. Place them back on the wire rack to cool and harden.
This combination of zesty orange and rich chocolate creates a luxurious treat that’s perfect for gifting or enjoying yourself!
Spiced Orange Candy
For those who enjoy a little kick, spicing up your classic orange candy can add warmth and depth. Consider these tips for the spiced orange candy variation:
- Add spices to the syrup: When making the candy syrup, infuse it with spices like cinnamon, ginger, or nutmeg. Start with a teaspoon and adjust to your liking.
- Finish with zest: Once the orange slices are cooled, sprinkle a hint of additional orange zest mixed with a little sugar on top for an extra flavor punch.
This version not only tastes fantastic but also fills your kitchen with a warm, inviting aroma.
By experimenting with these variations, you’ll find the art of making orange candy is not just about following a recipe; it’s about embracing creativity and flavor. For more ideas, check out this collection of homemade candy recipes. Happy candy-making!
Cooking tips and notes for Classic Homemade Orange Candy
Best practices for slicing oranges
To kick things off with your classic homemade orange candy recipe, make sure to choose ripe, juicy oranges—Naval or Valencia varieties work wonders. When slicing, aim for even thickness (about 1/4 inch) to ensure uniform cooking. A sharp knife is essential; it keeps the juice intact and prevents any mushiness. Have you ever had a frustrating experience with squishy slices? Using a serrated knife can help!
Pro tips for simmering and drying
Simmering is where the magic happens. Use a heavy-bottomed pot to prevent burning, and add just enough water to cover your orange slices. Gently simmer for about 45 minutes, turning them every so often to avoid sticking. Once you’ve reached that perfect tenderness, drying is crucial. Place the slices on a cooling rack in a warm, dry environment to let them air out for about 12 hours. This method enhances the flavor concentration, giving you a delightful candy experience. For more in-depth tips, check out resources on The Kitchn to perfect your candy-making skills!
Serving suggestions for Classic Homemade Orange Candy
Creative ways to enjoy orange candy
Once you’ve crafted your classic homemade orange candy, the fun truly begins! Here are a few creative ways to enhance your candy experience:
- Incorporate into Desserts: Chop the orange candy and fold it into your favorite cake batter or pancake mix for a zesty twist.
- Snacking: Enjoy these candies on their own or sprinkle them over yogurt for a refreshing crunch.
- Gifts: Package them beautifully with a handwritten note for friends or family. Homemade treats have a special touch!
Pairing suggestions for a delightful experience
Pairing your classic homemade orange candy recipe can elevate the flavor sensations even further. Consider these options:
- Herbal Tea: A warm cup of chamomile or mint tea complements the vibrant citrus notes wonderfully.
- Cheese Board: Include with softer cheeses like brie or goat cheese for a sweet and savory balance.
- Nuts: Pair with roasted nuts for a satisfying crunch and a savory kick—think almonds or cashews.
With these suggestions, you can transform your homemade candy into a delightful experience! For more creative ideas and inspiration, check out sources like Bon Appétit or Food Network.
Time breakdown for Classic Homemade Orange Candy
When you’re gearing up to make your classic homemade orange candy recipe, it’s pretty handy to understand how much time you’ll need. Here’s a quick breakdown to help you plan your candy-making adventure!
Preparation time
Getting your ingredients and tools in order takes about 20 minutes. You’ll want to wash and slice your oranges, measure out sugar, and gather any equipment you’ll need. No need to rush—I’ve always found that a calm setup helps make the process enjoyable.
Cooking time
The actual cooking will take roughly 30 minutes. You’ll bring the sugar and water to a boil, then let those zesty slices simmer. This step is crucial for flavor development, so resist the temptation to skip it!
Drying time
Once the cooking is done, the drying phase will require patience—typically around 8 hours. This is when your candied oranges will lose excess moisture and develop that delightful chewy texture. If you have the time, letting them sit overnight can enhance their flavor even more.
With this time breakdown, you’re all set to embark on your classic homemade orange candy recipe journey! For more tips on ingredient choices, check out this source for ideas on selecting the perfect oranges.
Nutritional facts for Classic Homemade Orange Candy
Understanding the nutritional profile of your treats can help you enjoy them guilt-free! Here’s a closer look at the nutritional facts for classic homemade orange candy.
Calories per slice
Each slice of this delectable orange candy contains approximately 50 calories. It’s a satisfying sweet that can fit neatly into your snack routine without derailing your day. For those keeping an eye on their caloric intake, this makes the classic homemade orange candy a manageable indulgence!
Sugar content
With about 10 grams of sugar per slice, it certainly satisfies your sweet tooth while leveraging the natural flavors of orange. While it’s essential to enjoy treats like this in moderation, using natural ingredients can make your candy a step up from store-bought varieties, which often contain artificial preservatives.
Interested in more about the healthier alternatives in homemade treats? Check out resources from esteemed sites like The American Heart Association for insights on sugar intake recommendations.
FAQs about Classic Homemade Orange Candy
How long does the orange candy last?
Once you’ve whipped up your delightful classic homemade orange candy, you’ll be happy to know it has a surprisingly good shelf life! When stored properly, your candy can last for up to two weeks at room temperature. For even longer preservation, consider refrigerating it, which can extend its life to about a month. Just be sure to keep your delicious creation in an airtight container to prevent any moisture from spoiling its vibrant taste!
Can I use other citrus fruits for this recipe?
Absolutely! While this recipe focuses on oranges, feel free to explore the citrus world. Lemons, grapefruits, and even tangerines can work beautifully. Using a mix of different citrus fruits can also add an exciting twist to the flavor profile of your classic homemade orange candy recipe. Just ensure you adjust the sugar content slightly based on the sweetness or tartness of the fruit you choose. Curious about the flavor balance? Check out this Nutritional Guide to Citrus Fruits for more insights!
What’s the best way to store my homemade orange candy?
To maintain its freshness, store your orange candy in an airtight container. If you live in a humid area, refrigeration might be your best option to keep the candy from becoming too sticky. If you want to share the love (or save some for later), keep individual pieces wrapped in wax paper or plastic wrap to preserve their delightful texture and flavor. For an eco-friendly storage method, consider using a glass jar with a tight lid! This not only preserves the candy but also adds a charming touch to your kitchen.
Taking the extra care in storing your candy makes a significant difference in maintaining that fresh, tangy flavor you’ve worked so hard to create. Enjoy your sweet journey!
Conclusion on Classic Homemade Orange Candy
Final thoughts on making orange candy at home
Making your own classic homemade orange candy is not just a delightful treat but also a fantastic way to impress friends and family. It’s surprisingly simple and requires just a few ingredients; the satisfaction of creating something delicious makes it all the more enjoyable!
Every bite of this citrusy candy bursts with flavor, making it a perfect snack or gift. Plus, it’s a unique activity to unwind after a long week. So, gather your ingredients, and indulge in this zesty experience. For more candy inspirations, check out Serious Eats’ candy recipes. You won’t regret the sweet effort!
PrintClassic Homemade Orange Candy Recipe: Easy Citrus Delight for All
Enjoy the vibrant and tangy flavors of this classic homemade orange candy recipe. Perfect for snacking or sharing!
- Prep Time: 15 minutes
- Cook Time: 30 minutes
- Total Time: 45 minutes
- Yield: 20 pieces 1x
- Category: Candy
- Method: Stovetop
- Cuisine: American
- Diet: Vegetarian
Ingredients
- 2 cups granulated sugar
- 1 cup fresh orange juice
- 1 tablespoon orange zest
- 1/2 cup water
Instructions
- In a saucepan, combine sugar, orange juice, orange zest, and water.
- Bring to a boil over medium heat, stirring until sugar dissolves.
- Reduce heat and let simmer until the mixture thickens.
- Pour the mixture into a lined baking dish and allow it to cool completely.
- Once set, cut into pieces and enjoy.
Notes
- For a stronger orange flavor, add more orange zest.
- Ensure the candy cools completely for the best texture.
Nutrition
- Serving Size: 1 piece
- Calories: 120
- Sugar: 25g
- Sodium: 5mg
- Fat: 0g
- Saturated Fat: 0g
- Unsaturated Fat: 0g
- Trans Fat: 0g
- Carbohydrates: 30g
- Fiber: 0g
- Protein: 0g
- Cholesterol: 0mg
Keywords: orange candy, homemade candy, citrus sweets