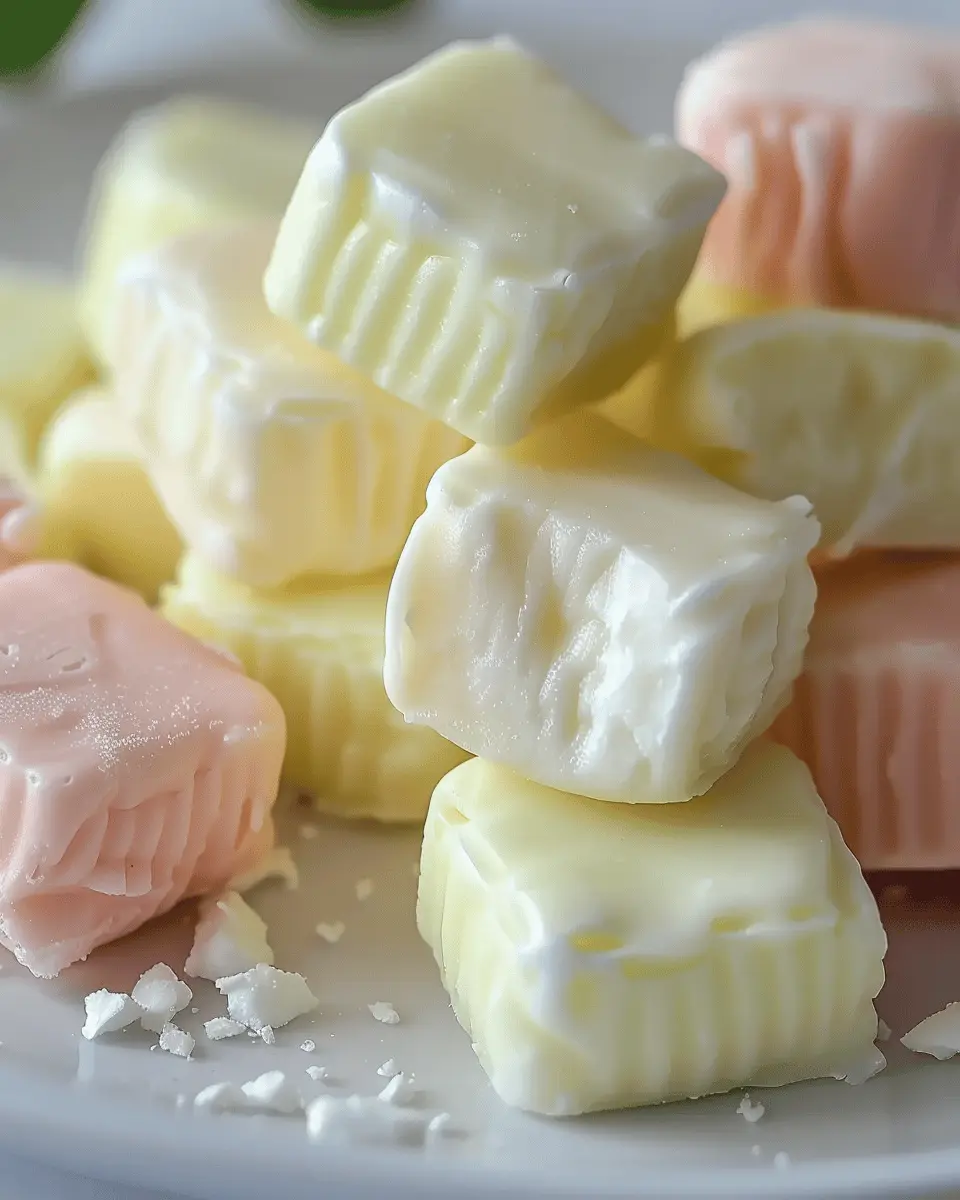
Introduction to Homemade Butter Mints
Making homemade butter mints can be a delightful experience that combines nostalgia with a touch of creativity. Have you ever enjoyed those melt-in-your-mouth mints at parties or during family gatherings? It’s hard to resist their creamy texture and refreshing flavor! Crafting these treats at home not only allows you to customize the flavor profiles to fit your taste but also adds a personal touch to your culinary repertoire.
Why Homemade Butter Mints Are a Delightful Treat
The beauty of homemade butter mints lies in their simplicity and versatility. With just a few basic ingredients, you can whip up a batch that’s perfect for any occasion—be it a wedding, a holiday gathering, or simply a sweet indulgence after dinner. Here’s why you should consider making them:
-
Customization: By making the mints yourself, you can tailor the flavors and colors to suit your preferences or the theme of your event. Do you want a hint of peppermint, spearmint, or even a fruity twist? The choice is all yours.
-
Quality Ingredients: Store-bought mints often contain preservatives and artificial flavors. By making your own, you can ensure that only high-quality, wholesome ingredients go into your treats. This is a great way to avoid unhealthy additives while enjoying a delicious dessert.
-
Perfect for Sharing: Homemade butter mints make for lovely gifts. Package them in a nice jar or a decorative box, and you have a heartfelt, personalized present for friends or neighbors. There’s something special about receiving a treat that someone has made with care.
-
Satisfy Your Sweet Tooth: Whether you need a sugar fix or want to freshen your breath after a meal, these mints are sure to satisfy. The creamy texture and sweet-minty flavor create a perfect balance that appeals to both kids and adults.
For great ideas on variations of these mints, you can check out resources like King Arthur Baking or Martha Stewart, which provide excellent tips for flavoring and styling your mints.
In the end, making homemade butter mints can turn the ordinary into the extraordinary. Ready to start mixing? Let’s dive into the recipe!
Ingredients for Homemade Butter Mints
Essential ingredients for the perfect butter mints
Creating your own homemade butter mints is a delightful way to impress guests or simply indulge your sweet tooth. Let’s dive into the essential ingredients that will make your mints truly special:
- Butter: Use unsalted butter for a rich and creamy base. It should be softened to room temperature for easy mixing.
- Confectioners’ Sugar: This is the key to achieving that melt-in-your-mouth texture. Sifting it beforehand helps eliminate lumps and ensures a smooth finish.
- Flavoring: Peppermint extract is the classic choice, but feel free to experiment with alternatives like spearmint or vanilla for a twist.
- Food Coloring: Add a few drops for a burst of color! Pastel shades are always charming and inviting.
- Cornstarch: A small amount helps with consistency, making your mints easier to shape and handle.
These ingredients come together to create a delightful treat. For more tips on homemade butter mints and similar recipes, consider checking out this comprehensive guide. Who knows, you might just start a new favorite tradition!
Step-by-step preparation of Homemade Butter Mints
Making your own homemade butter mints is not just about enjoying a sweet treat; it’s a delightful process that gets you involved in the kitchen, whipping up something marvelous. These simple yet delicious mints are perfect for parties, gifts, or just to satisfy your sweet tooth. Let’s dive into the steps!
Gather your supplies
To start off your homemade butter mints journey, you’ll need to gather a few essential ingredients and tools. Here’s what you’ll require:
-
Ingredients:
-
1/2 cup unsalted butter (softened)
-
4 cups powdered sugar
-
1 teaspoon peppermint extract (or any flavor of your choice)
-
1 tablespoon heavy cream
-
Food coloring (optional)
-
Tools:
-
Mixing bowl
-
Electric mixer (or a sturdy spoon)
-
Parchment paper
-
Baking sheet or plate
-
Small cookie cutters (optional)
Having everything prepared ahead of time makes the process smoother and more enjoyable, like a well-choreographed dance in the kitchen.
Cream the butter
The first step involves creaming the butter. In a medium mixing bowl, add your softened unsalted butter. Using an electric mixer or a sturdy spoon, beat the butter until it’s light and fluffy, about 1-2 minutes. This step is crucial as it gives your mints a creamy texture. Judith Jones, a culinary expert, emphasizes that a well-creamed butter is key to a successful baking process.
Incorporate the powdered sugar
Once your butter is nice and creamy, it’s time to incorporate the powdered sugar. Gradually add about 1 cup at a time, mixing on low speed to avoid a sugary cloud enveloping your kitchen. As you add the sugar, you’ll notice the mixture becoming thicker and more consistent. Aim for a fluffy dough that holds together well. This is where the homemade butter mints get their sweetness!
Add flavorings and cream
Now that you have your base, it’s time to bring in some flavor. Add 1 teaspoon of peppermint extract (or your chosen flavor) and 1 tablespoon of heavy cream to the mixture. Fold these in gently until thoroughly combined. The addition of cream not only enhances the flavor but also makes your mints melt-in-your-mouth tender. You can play with the flavoring here—how about a zesty lemon or a rich chocolate?
Divide and color the dough (optional)
Here’s where the fun really begins! If you want to add a splash of color to your homemade butter mints, divide the dough into sections based on how many colors you’re going for. Use a few drops of food coloring for each section and knead it into the dough until the color is even. This step is especially great if you’re making these mints for a themed party or holiday!
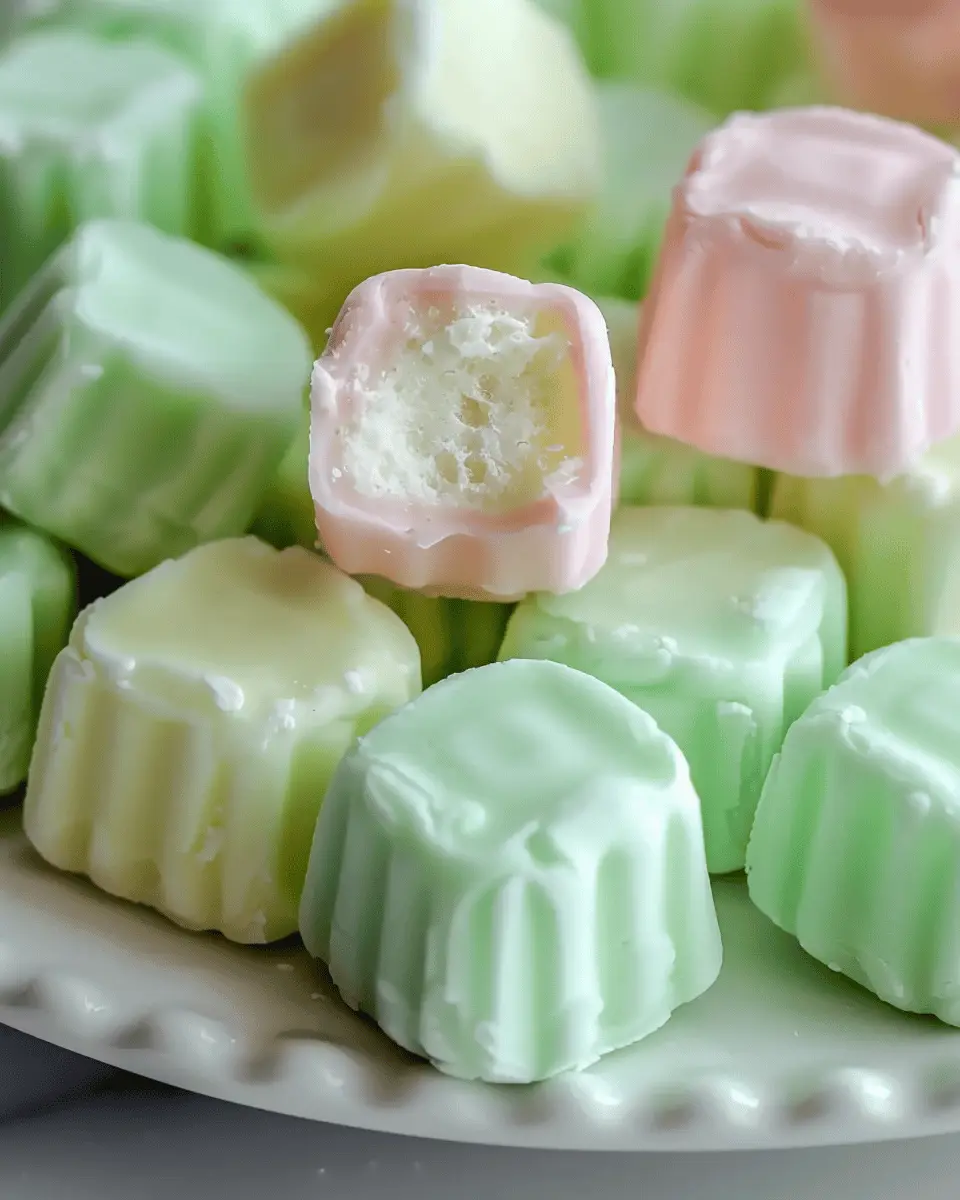
Shape the mints
Now for the creative part. Roll small portions of the dough into tiny balls—about the size of a marble. If you’re using cookie cutters, you can roll it out on a floured surface and cut out your desired shapes. This is where your personality can shine. Tiny hearts for Valentine’s Day? Or star shapes for a festive gathering? The options are endless.
Let them dry
After shaping your homemade butter mints, place them on a baking sheet lined with parchment paper. Allow them to dry for a few hours, or overnight if you can resist. The drying process helps the mints set, ensuring they maintain their shape and texture.
And there you have it! Following these steps will lead you to heavenly, buttery mints that’ll impress friends, family, and even yourself! The sense of accomplishment that comes with making your own treats is just one more reason to dig into this delightful kitchen project.
For more kitchen inspiration, check out Bon Appétit or Serious Eats for other sweet creations to try.
Variations on Homemade Butter Mints
Creating your own homemade butter mints opens a world of endless flavor possibilities! Let’s explore some delightful variations that can bring a unique twist to this classic treat.
Decadent Chocolate Butter Mints
Craving something rich? Try adding cocoa powder or melted chocolate to your homemade butter mints mix. This variant is surprisingly simple: just combine 1-2 tablespoons of cocoa powder into the initial mixture or fold in melted chocolate after the mints have been slightly chilled. The result? A mocha-like treat that satisfies those chocolate cravings. For an extra touch, dip each mint in dark chocolate and let them set on parchment paper. Heaven!
Fruity and Refreshing Butter Mints
If you’re more into fruity flavors, you’re in luck! Adding fruit extracts, purees, or zests can transform your mints into a refreshing treat. Consider flavors like:
- Lemon or lime zest for a citrusy zing
- Strawberry or raspberry puree for a burst of sweetness
- Orange or peach extracts for a touch of summer
These fruity homemade butter mints are perfect for outdoor gatherings or just an afternoon pick-me-up.
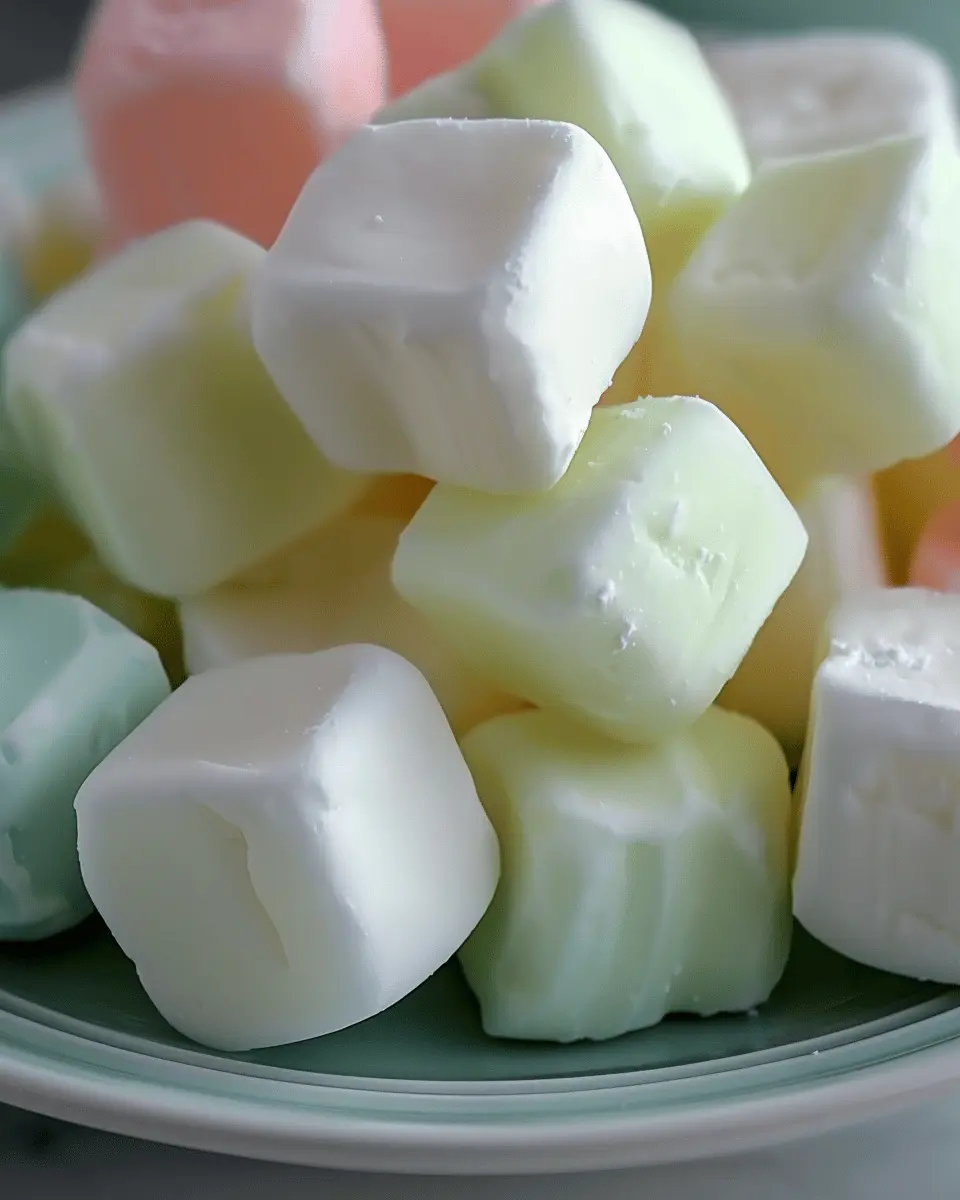
Festive Colors for Special Occasions
Want your homemade butter mints to stand out at your next event? Consider tinting your mixture with food coloring to match the theme. For holidays, you could use:
- Pastels for Easter
- Red and green for Christmas
- Vibrant colors for birthdays or summer barbecues
Just add a few drops of food coloring while mixing until your desired shade is achieved! These little touches can have a big impact and impress your guests.
With these variations, your homemade butter mints can be customized for any palate or occasion. For more fun ideas or inspirations, check out resources like Food Network and AllRecipes. Happy mint-making!
Cooking Tips and Notes for Homemade Butter Mints
Maintaining the Right Consistency
To achieve the perfect texture for your homemade butter mints, consistency is key. Start by ensuring your butter is at room temperature before mixing; softened butter creates a smoother blend. During the mixing process, gradually add powdered sugar, ensuring it’s fully incorporated before adding more. If the mixture feels too sticky, dust a bit more powdered sugar until it reaches a malleable consistency. For a fun twist, consider incorporating flavor extracts like peppermint or vanilla. Remember, a little goes a long way—start with a teaspoon and adjust to taste!
Common Mistakes to Avoid
Even seasoned chefs can stumble when making homemade butter mints. Here are some pitfalls to watch for:
- Overmixing: Avoid overworking the dough, as this can make the mints tough instead of tender.
- Using Granulated Sugar: Stick with powdered sugar for that fluffy melt-in-your-mouth texture.
- Skipping the Chill Time: Give your mints time to set in the fridge for better firmness.
If you’re looking for foolproof methods, consider checking out this resource for additional recipes and tips. Happy mint-making!
Serving Suggestions for Homemade Butter Mints
Perfect Pairings for Your Butter Mints
When you whip up a batch of homemade butter mints, it’s essential to think about how these delightful treats complement other flavors. They pair beautifully with:
- Fresh fruits: Serve your mints alongside a citrus platter featuring oranges, lemons, and limes for a refreshing contrast.
- Coffee or herbal teas: The sweetness of the mints can enhance your morning brew or an afternoon herbal blend.
- Charcuterie boards: Combining your butter mints with cheeses like creamy Brie or tangy goat cheese can create a delightful flavor experience.
Creative Ways to Present Your Mints
Presentation is everything, don’t you think? Here are some ideas to make your homemade butter mints stand out:
- Mason jars: Fill small mason jars with your mints, tie a decorative ribbon around the lid, and use them as party favors or centerpieces.
- Elegant serving trays: Arrange your mints on an elegant serving tray alongside complementary snacks, like nuts or dried fruits, for visual appeal.
- Seasonal themes: Use themed plates or bowls that reflect the season—like pastel colors for spring or rich jewel tones for fall—to align your mints with your event’s aesthetic.
By thinking about pairings and presentation, you’ll turn your homemade butter mints into a celebration of flavors and beauty at any gathering! For more serving inspiration, check out platforms like Epicurious and Bon Appétit.
Time breakdown for Homemade Butter Mints
Preparation time
Making homemade butter mints starts with an easy prep phase that takes about 15 minutes. You’ll mix ingredients like powdered sugar, butter, and flavorings until you get a smooth dough. It’s a fun process that you can do while listening to your favorite tunes or podcast.
Drying time
After shaping the mints, they’ll need a drying period of roughly 1 to 2 hours. This allows them to firm up and develop that perfect bite! Make sure to arrange them on a baking sheet and leave some space between each mint for air circulation.
Total time
In total, you’re looking at around 1 to 2 hours for this delightful treat, depending on how long you allow them to set. So, grab your ingredients and enjoy the process—your tastebuds will thank you! For more tasty ideas, consider checking out Food Network for inspiration on flavor variations.
Nutritional Facts for Homemade Butter Mints
Calories per Serving
When you indulge in homemade butter mints, you can expect around 50 calories per mint. While they are a sweet treat, enjoying them in moderation can make this delightful confection a guilt-free indulgence.
Sugar Content
Each mint contains about 11 grams of sugar, primarily from powdered sugar. While that might seem like a lot for one small treat, keep in mind that mints are typically enjoyed in moderation. If you’re looking to make them a bit healthier, consider using a sugar substitute or reducing the quantity.
Nutritional Benefits of Mints
Mints not only add flavor but also pack some benefits! Here are a few:
- Digestive Aid: Mints can help soothe stomach discomfort, making them a great after-meal treat.
- Freshens Breath: Enjoying homemade butter mints can be a lovely way to freshen your breath before an important meeting or date.
- Rich in Antioxidants: Mints contain antioxidants that may help protect your cells from damage.
If you’re curious about the health aspects of mint, check out resources like Healthline to learn more. These little treats can be as beneficial as they are delicious—just one reason why making them at home can be a fun and worthwhile endeavor!
FAQ about Homemade Butter Mints
Can I use margarine instead of butter?
While using margarine might seem like a tempting option for homemade butter mints, I recommend sticking with good old-fashioned butter. Butter provides a rich flavor and creamy texture that margarine often can’t replicate. If you’re aiming for that classic melt-in-your-mouth sensation, butter is your best bet. However, if you’re in a pinch, margarine can work in a pinch, just be prepared for a subtle difference in taste.
How long do homemade butter mints last?
Your homemade butter mints can last quite a while if stored properly! Typically, they’ll keep in an airtight container at room temperature for about 1-2 weeks. For even longer shelf life, consider refrigerating them, where they can last up to a month. Just make sure to bring them back to room temperature before serving for the best flavor and texture. If you’re interested in preserving them longer, you can also freeze them. Wrap the mints individually in wax paper, then store them in a freezer bag; they can last up to six months!
Can I adjust the sweetness level?
Absolutely! One of the perks of making homemade butter mints is the ability to tailor the sweetness to your liking. If you prefer a less sugary taste, start with less powdered sugar than the recipe suggests. You can always add more gradually until you reach your preferred sweetness. Keep in mind that adjusting the sugar may alter the consistency slightly, so feel free to experiment a bit! For additional flavor variety without added sweetness, consider infusing your mints with peppermint or spearmint extracts.
These flexible options ensure that your homemade butter mints will be just how you want them! For more inspiration, check out this guide on flavoring candies.
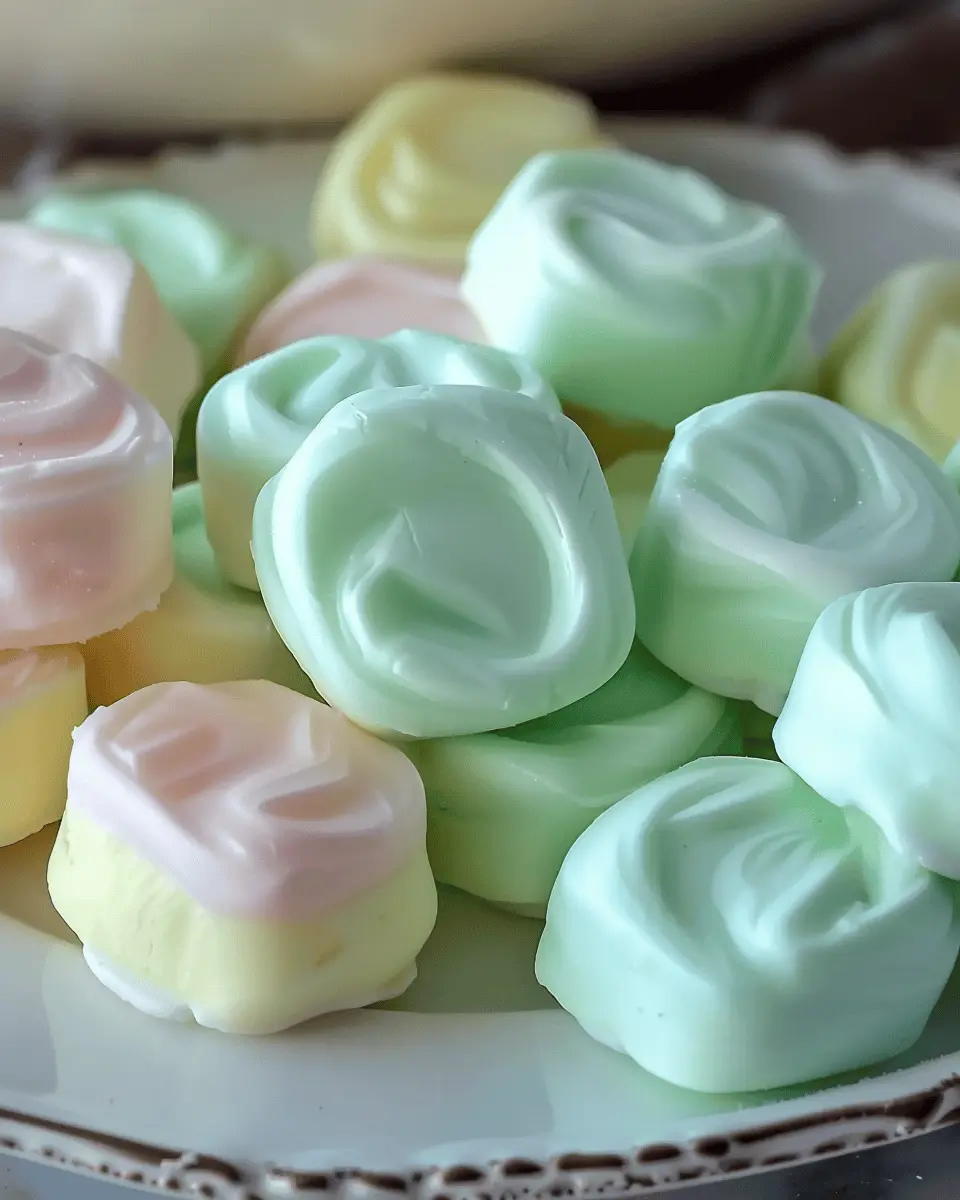
Conclusion on Homemade Butter Mints
The joy of making your own mints at home
Creating homemade butter mints comes with a unique sense of satisfaction and joy. Imagine the delight of crafting these sweet treats in your own kitchen, experimenting with flavors, and perfecting your technique. Not only do you have complete control over the ingredients, but you can also infuse them with your favorite flavors, whether it’s a zesty lemon or a classic peppermint.
Sharing these mints with friends and family adds an extra layer of joy. They make for wonderful gifts or party favors, showcasing your culinary skills. So next time you’re looking for a sweet, thoughtful touch, consider trying your hand at these delightful mints. They’re easy, fun, and delightful to enjoy! For more tips on making tasty treats, check out resources from Serious Eats and Bon Appétit.
PrintHomemade Butter Mints: The Best Easy Treat for Any Occasion
Enjoy these delicious homemade butter mints that are easy to make and perfect for any occasion.
- Prep Time: 15 minutes
- Total Time: 1 hour 15 minutes
- Yield: 30 mints 1x
- Category: Candy
- Method: No-Bake
- Cuisine: American
- Diet: Vegetarian
Ingredients
- 2 cups powdered sugar
- 1/2 cup unsalted butter, softened
- 1/2 teaspoon peppermint extract
- 1/4 teaspoon vanilla extract
- 2 tablespoons milk
- 1/2 teaspoon food coloring (optional)
Instructions
- In a mixing bowl, combine the powdered sugar and softened butter.
- Add the peppermint and vanilla extracts, then mix until well blended.
- Gradually add the milk until the mixture is smooth and pliable.
- If using, add food coloring to achieve desired color.
- Pinch off small amounts of the mixture and shape into mints.
- Place the shaped mints on parchment paper to set for at least 1 hour.
Notes
- For a stronger mint flavor, increase the peppermint extract.
- Store in an airtight container to keep them fresh.
Nutrition
- Serving Size: 2 mints
- Calories: 50
- Sugar: 10g
- Sodium: 5mg
- Fat: 2g
- Saturated Fat: 1g
- Unsaturated Fat: 1g
- Trans Fat: 0g
- Carbohydrates: 9g
- Fiber: 0g
- Protein: 0g
- Cholesterol: 5mg
Keywords: Homemade Butter Mints, Easy Treat, Candy, Dessert